Kitchen


The Kitchen...where to start?
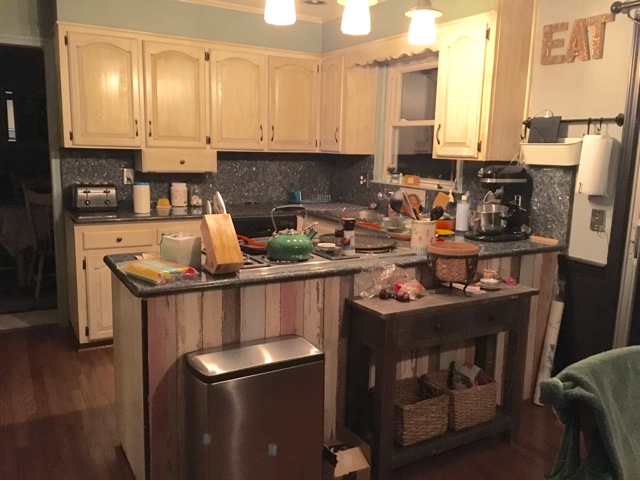
For me, it is these 1980's brown cabinets that made this room feel dark and dated. After various pins and videos I chose to use the Rust-Oleum Kitchen Transformation kit. This proved to be the most cost effective method for what I wanted to accomplish. I did find the the most expensive change is hardware. There are a lot of cabinets with hinges and knobs that all needed a makeover. I did purchase new knobs for the doors and drawers, but I did decide that painted the hinges would save me money. There are so many spray paints on the market today!
The counter tops are black but I can not rationalize replacing the granite just because they are not what I would pick, especially when the long term plan for this room is a complete reno I am talking several years down the road, so this face lift needs to be kept to a financial minimum. Therefor, the counter tops and back splash shall remain!

Here is my mom and I scrubbing and degassing the cabinets. I love being able to look back and see all the changes that have occurred. The wallpaper has been removed, the ceiling fan taken down (personal preference) and the brown shutters that cover the window are no longer present. Not to mention that a whole row of cabinets that blocked the view to the family room have been removed. It was sad to see the storage loss but this is a decision that I would not take back!
Once all the cabinets and drawers dried we set up stations in the garage and the sunroom that would allow us to work. Here you can see how I used just about anything I could find as a work table! The doors are in various stages of progress from base coat to glaze.


The Kitchen Transformation Kit did not disappoint! I am very pleased with the outcome, although it is a ton of work.
Be prepared if this is something you are thinking of doing. It will take days, so be patient and plan accordingly.
  |

The floor is gorgeous!
ReplyDelete